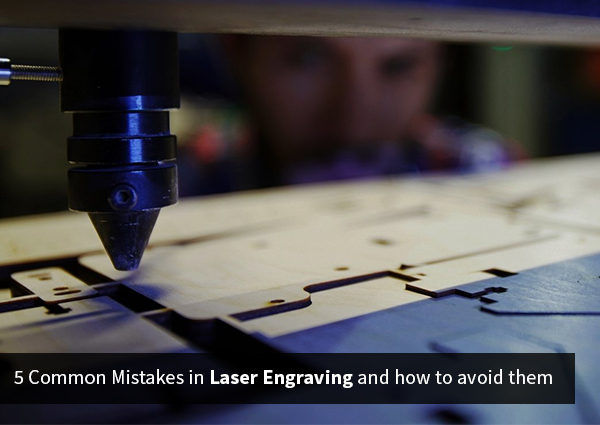
5 Common Mistakes in Laser Engraving and how to avoid them
In this article, you will learn about 5 Common mistakes in Laser Engraving and how to avoid them. Laser engraving, which is a subset of laser marking, is the practice of using lasers to engrave an object. Here below several mistakes and how we avoid them.
1: Engraving Fabric but the Laser Burns through the Material
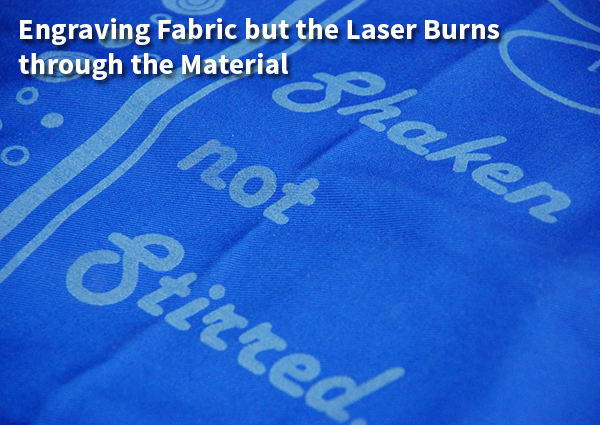
The first step in dodging burning fabric with a laser engraving/cutting machine is to understand which fabrics can resist the process and at what temperatures.
Heartier fabrics such as denim, canvas, and leather can confront higher power settings during engraving. But when it comes to sensitive fabrics, it is important to start your settings at high speed (near or at 100%) and low power (around 5% to 10%).
Test these initial settings on some spare material, and if the fabric can withstand it, increase the power until you get the outcomes you are looking for. When it comes to direct-to-garment engraving, it is necessary to lower the dots per inch (DPI) at which you engrave. The higher the DPI, the more material will be eliminated.
2: Acrylic Doesn’t Produce a Frosty White Engraving
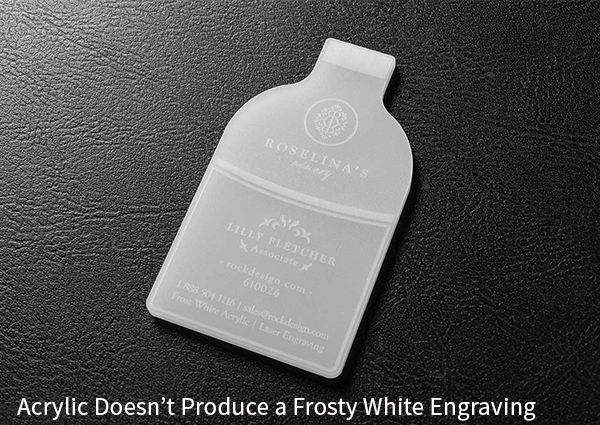
More than expected, this is caused by using the incorrect acrylic in the application. Two kinds of acrylics are typically used in laser engraving and both are suitable for different applications.
Cast acrylic sheets and objects are formed from a liquid acrylic that is poured into
This variety of acrylic is ideal for engraving because it turns a frosty white
3: Inconsistent Glass Engraving
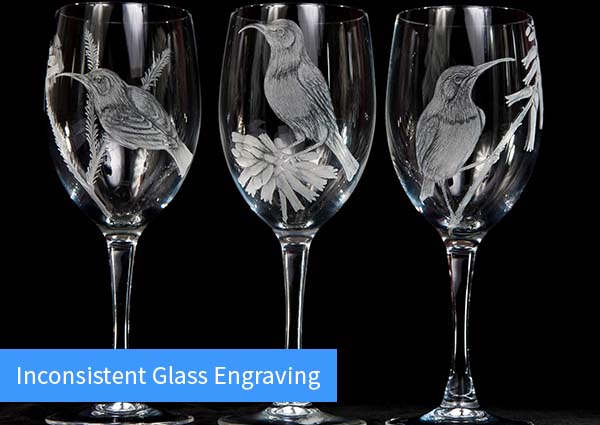
Oftentimes, when a laser hits glass it will fracture the surface but not engrave deeply or remove the material required to engrave fully. The fractured glass surface will provide a frosted appearance, but can be irregular and chipped depending on the type of glass that is being engraved.
While the frosted look is desired, no one wants a rugged surface or chipping. In order to produce a smooth frosted finish, try consolidating one or few of the tips below:
Use a lowering resolution, about 300 DPI, which will produce a better outcome on the glass as you separate the dots you are engraving.
Alter the black in your graphic to 80 percent black.
Operate your laser engraver with Jarvis Dithering, which will assist to provide a smooth finish.
4: Wood Engraving Produces Different Results on the Same Setting
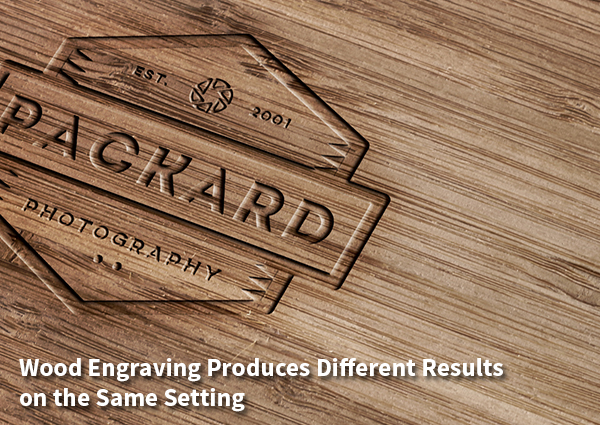
Wood is one of the most laser-friendly materials available not only because it can be cut very easily as well as it engraves very well. However, various woods have distinct reactions when they are laser engraved and provide different results. Lighter woods, like cherry or maple, offer a nice contrast where the laser burns away the wood, whereas, denser woods need more laser power to cut or engrave.
Here are few tips when engraving with wood:
Maple and alder are among the most popular woods for engraving, producing a rich contrast. Bare wood engraving provides smoke and debris during the process that can become embedded into the grain of the wood.
To diminish this effect, every time engrave from the bottom up – these assists draw any smoke away from the engraving
5: Laser Engraver Doesn’t Perform as Fast Anymore
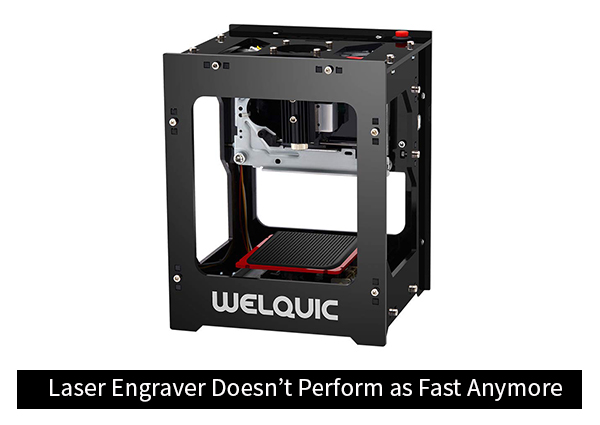
Clean your machine! Much like other kinds of design equipment, a clean machine renders better results than one that is not regularly maintained. Maintenance requirements are mentioned in your laser machine user manual. If a drop in performance happens often, checking and cleaning the optics may be the step you need in correcting the problem.
Well, this was the end of the article of 5 Common mistakes in Laser Engraving and how to avoid them. We suggest inspecting the optics in the laser (the lenses and mirrors) weekly and cleaning as required.
If you’re cutting materials that release more residue, like wood or acrylic, you may find your optics need to be cleaned more often than not.
looking for printing press in delhi
